
How a Five-Cent Piece of Plastic Nearly Cost Me My Sanity
There is an old saying among mechanics that every repair has two stages: fixing the machine, and fixing what you broke while fixing the machine.
This Sunday was supposed to be simple.
It began with a temperature sensor.
For months I'd noticed that one of the NVMe drives in my workstation consistently ran warmer than the other. Not catastrophically hot—certainly not enough to trigger alarms—but warm enough that every time I glanced at the output of sensors, it whispered the same nagging thought:
"Something isn't quite right."
As anyone who builds their own computers knows, those thoughts have a way of burrowing into your subconscious. Eventually curiosity overcomes common sense.
So I shut the machine down and opened the case.
The Original Mission
The objective was almost laughably modest.
I wanted to inspect the heatsink covering one of the motherboard's M.2 NVMe drives because I had a suspicion that during assembly I had forgotten to remove the protective plastic film from the thermal pad.
Anyone who has ever installed a CPU cooler or NVMe heatsink has probably had this fear. Manufacturers place a clear plastic film over the thermal interface material to protect it during shipping.
Forget to peel it off, and congratulations—you've carefully insulated the component you're trying to cool.
Sure enough...
There it was.
The protective film.
Still attached.
Victory!
I peeled it away, removed the decorative labels from both SSDs to give the thermal pads direct contact, congratulated myself on catching the mistake...
...and then remembered.
To reach the heatsink, I'd had to remove the graphics card.
The GPU
This was not our first unpleasant conversation.
When I originally assembled the machine, I hadn't realized Gigabyte's Z890 motherboard uses a hidden PCIe EZ-Latch release mechanism.
The result?
I managed to break the release button.
Not my proudest engineering achievement.
Ever since then, reinstalling the graphics card has been an exercise in frustration.
Today would be different.
Or so I thought.
"Why Won't You Seat?!"
The card simply refused to go back in.
I'd align it.
Push.
Nothing.
Pull it out.
Inspect it.
Try again.
Nothing.
Push Harder.
Yell at it.
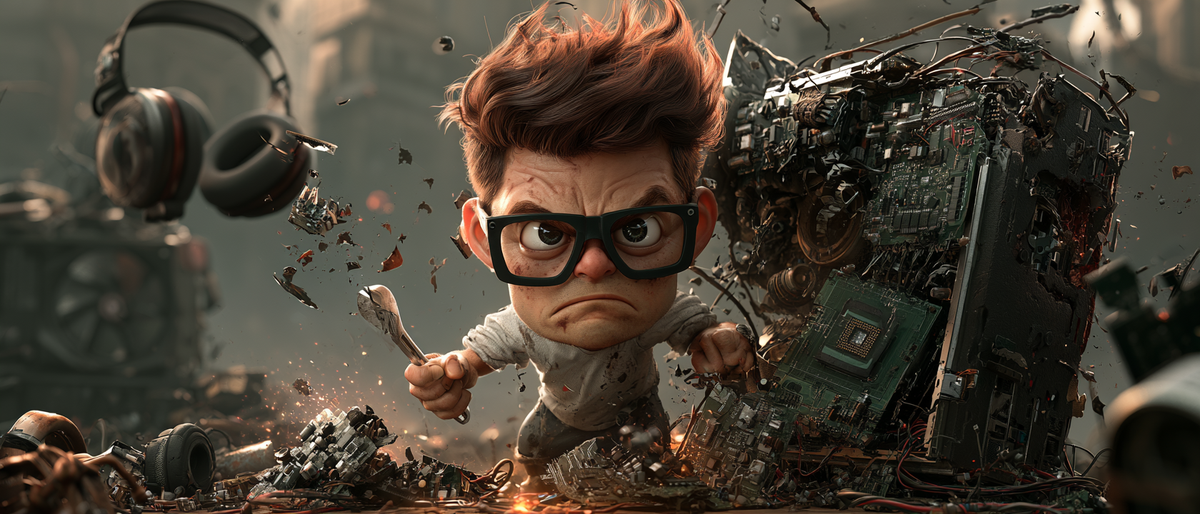
No joy. Tools are flying. Screws are going missing and screwdrivers are being applied to motherboard components which, if the manufacturer knew me - would have been sporting bright red biohazard warnings...
At this point I became convinced that one of the plastic locating tabs on the card was preventing proper installation.
Naturally, instead of questioning my assumption...
...I modified the hardware.
Out came the cutters.
Off came the plastic tab.
Surely that would solve everything.
It did not.
I removed another interfering piece.
Still nothing.
Every hardware enthusiast reading this is probably shouting at the screen right now.
You're right.
I deserve it.
The Moment of Horror
Eventually I managed to convince myself the card had seated properly.
Powered on.
No monitor.
Moved the HDMI cable to another port... Pointless and .. neh ...
So I plugged in the alternate Intel graphics cable and booted Linux.
No GPU.
The monitor continued running happily from the Intel integrated graphics.
Linux, however, behaved as though the Radeon card simply did not exist.
No AMD PCI device.
No amdgpu driver.
No ROCm.
Nothing.
Just...
gone.
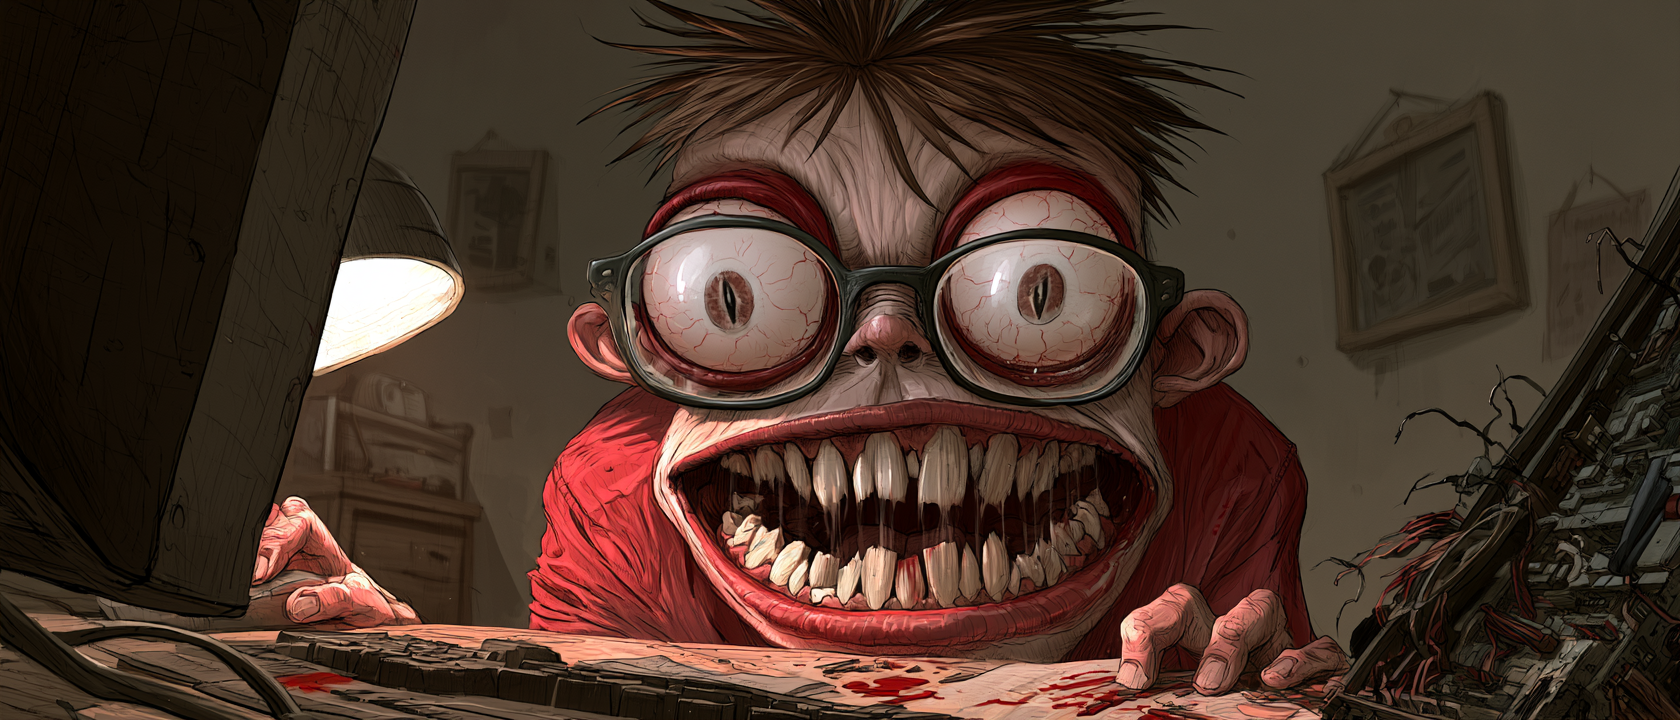
At this point my internal dialogue fully transformed into my external monologue for the pleasure of my neighbors... and it was considerably less printable.
Diagnostics Instead of Panic
One of the advantages of Linux is that it tells you the truth.
Not what you hope.
Not what you expect.
The truth.
Running lspci showed only the Intel integrated graphics.
The AMD vendor ID never even appeared.
This wasn't a driver issue.
This wasn't ROCm.
This wasn't firmware.
The PCIe bus itself wasn't enumerating the card.
Which meant one of several unpleasant possibilities:
- damaged graphics card
- damaged PCIe slot
- damaged motherboard
- damaged power delivery
- or still not seated, despite having examined the contacts and verified the horizontal geometry... still ...
None of these were attractive.
Retracing Every Step
By this point I'd convinced myself I'd probably destroyed several hundred dollars worth of hardware...
I opened the case again.
This time I stopped trying to solve the problem.
I simply looked.
Really looked.
And then I saw it.
I had already determined that the real enemy had been the rear mounting bracket, which is why it was seated correctly at this point.. despite having a couple of its limbs lobbed off.
Instead of slipping neatly between the motherboard and the chassis, the metal bracket was hanging up on the case.
The card couldn't move fully downward.
So I had been blaming the connection slot and card components while the actual obstruction was due to my ensuring the rear bracket was fully inserted between the case and the board... It wasn't - it was hanging up on some invisible edge of Grog knows what..
And every ounce of force I'd been applying had been completely misdirected.
The graphics card wasn't fighting the PCIe slot at all.
But now it was seated, and the system thought it wasn't...
The Twist
Here's where the story becomes ridiculous.
Remember those plastic tabs I'd cut off?
It turns out that was the cause of the problem, and accidentally provided the solution.
Breaking the board's release mechanism (what button?) may have removed one insertion/release obstacle... but it didn't mean that latch stayed up after the card was inserted. The forward tab compresses it ... once you figure out how to push the card into the slot with your brain instead of your gym card... But now that I had amputated it... the card went in and the latch stayed up. I realized this while I was getting ready to try the card in another (less capable) PCI slot. And the GOOD NEWS was that being an idiot saved the day.
Normally, the plastic geometry of the graphics card would have made reaching that latch almost impossible.
But after my earlier "engineering modifications," I could access while the card was out, push it forward so the board would register the card as "in place" and insert the card.
I pushed the latch fully forward.
Lowered the card again.
This time...
Click.
Perfect.
Powered on.
Linux immediately detected the Radeon.
ROCm returned.
Temperatures looked beautiful.
Everything worked.
The Plot Thickens
At this point you'd think the story was over.
Instead I discovered something interesting... upon returning to my original objective.
The two NVMe drives reported completely different thermal behavior.
The active operating-system drive—a PNY CS2150—sat happily around 41°C.
The Samsung OEM drive, meanwhile, reported:
- Composite: 50°C
- Sensor 1: 72°C
- Sensor 2: 50°C
At first glance this looked alarming.
Until I actually asked the drive what it thought of its own health.
The SMART log answered with remarkable confidence:
- Critical warnings: 0
- Media errors: 0
- Thermal management events: 0
- Warning temperature time: 0
- Critical temperature time: 0
- Percentage used: 0%
In other words:
The drive itself insisted it had never overheated.
The mystery turned out not to be excessive temperature at all, but richer telemetry. Samsung exposes an additional hotspot sensor—likely on the controller—that the PNY simply doesn't report separately.
The protective plastic still absolutely needed to come off.
But the drive hadn't been silently cooking itself to death after all.
Lessons Learned
Every disaster leaves behind tuition.
Mine included several expensive lessons.
First: never diagnose a seating problem until you've examined the chassis bracket alignment.
The connector may be innocent.
Second: Linux hardware diagnostics are astonishingly useful.
lspci, journalctl, SMART logs, and temperature sensors told the truth long before my emotions caught up.
Third: vendor temperature sensors are not directly comparable.
One manufacturer's "Sensor 1" may represent an entirely different physical component from another's.
Fourth: always remove protective films from thermal pads.
Yes.
Every single one.
Finally: never underestimate the value of stopping and simply looking.
Most hardware failures are not solved with greater force.
They're solved with better observation.
Faith in the Workshop
I'll admit something.
During the darker moments of this little adventure, my vocabulary temporarily departed from respectable engineering practice.
Fortunately, several of those moments became rapid conversions from frustration into prayer.
There is something deeply humbling about realizing you've just convinced yourself you've destroyed a machine you spent months assembling.
Whether one attributes the eventual breakthrough to providence, clearer thinking, or simply calming down enough to notice what was actually happening, the result was the same.
The answer appeared only after the panic subsided.
I don't think that's limited to computers.
After the Apocalypse
By sunset the workstation was actually in better condition than when the day began.
The forgotten plastic was gone.
Both NVMe drives now had proper thermal contact.
The GPU was seated correctly for the first time.
The mysterious temperature readings finally made sense.
And perhaps most importantly...
I now understand my own hardware a great deal better than I did that morning.
The entire fiasco began with a five-cent piece of protective plastic.
It ended as a reminder that engineering is rarely about never making mistakes.
It's about observing carefully enough, reasoning honestly enough, and persevering long enough to recover from them.
Sometimes, "Hardware Sunday" becomes "Hardware Sunday (Hell)."
Sometimes, if you're fortunate, it also becomes Hardware Sunday Redemption.
Jonathan Brown for Border Cyber Group
Member discussion: